
Installing or reinstalling the Lumino Agent
Prerequisites:
-
.NET Runtime 7.0.18
The installer will download and install the required prerequisites if not present.
The installer consists of one file:
-
LuminoInstaller.exe
Prior to installing the Lumino Agent we must first download the Agent.
- Navigate to https://lumino.ariox.com/ and in your Account followed by Company Management

- Click the Download Agent button to begin the download of the latest Lumino Agent.

- Select your User and click the Start Download button.

To ensure a clean installation, please remove any previously installed Lumino Agents before proceeding.
- On your server, go to the Start menu and open Add or Remove Programs. Alternatively, you can access “Uninstall a Program” through the Control Panel.

- Locate “Lumino” in the list of installed apps.

- From the available options, select "Uninstall".


- Allow the uninstallation process to complete before proceeding.
Installation
To install the Lumino Agent we must run the “LuminoInstaller.exe“, which validates the prerequisites needed to run the Lumino Agent. First you will select where to install the Agent.
 We recommend installing Lumino in the folder “C:\Lumino\“. Click Next to continue.
Lumino Configuration
The installer will require the input of the number of parallel executions you want your system to run (the maximum is 5). Choose 1 unless you need to run multiple integrations or data sets in parallel (the more running in parallel, the more resources your system will require):
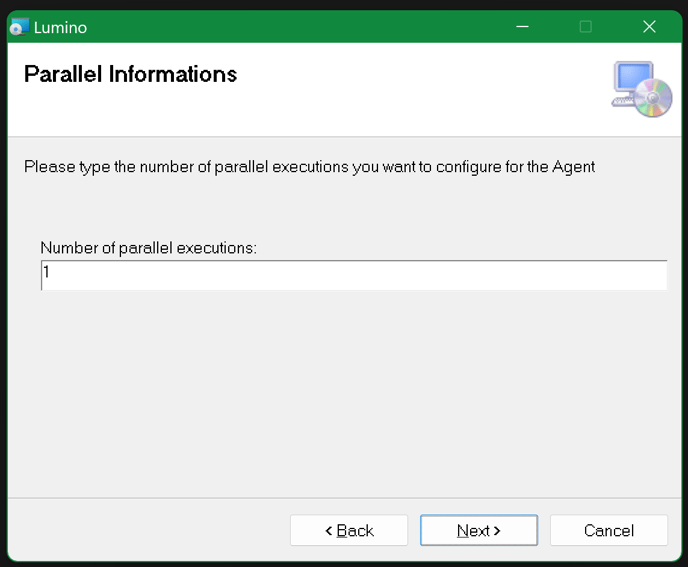
Click next to begin the installation
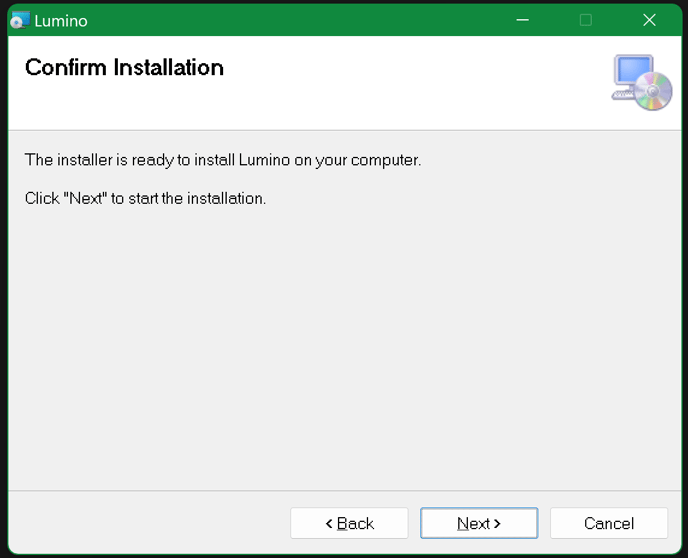
When the installation has finished the following window will pop up:
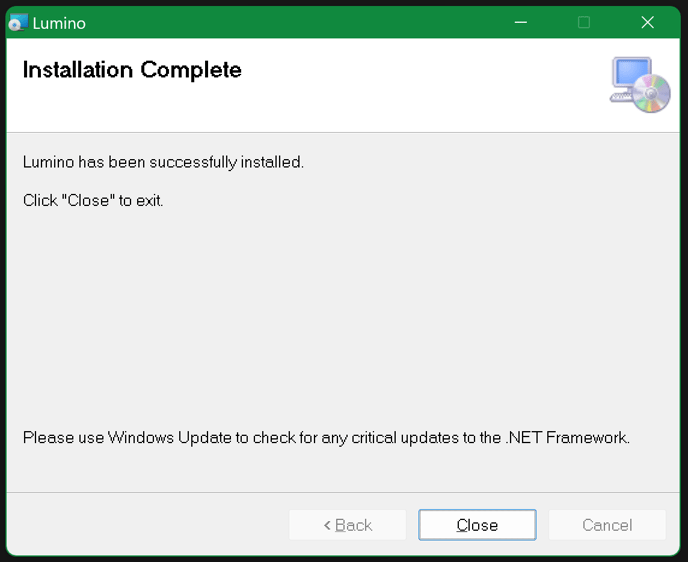
Confirm the services are active
Access the Lumino Dashboard at https://lumino.ariox.com/
After a few minutes, verify that both the Agent and Updater are available in the Remote Operator Agents panel.
